Chapter 1: Setup
Step 1: Creating Your Account
Step 1: Creating Your Account
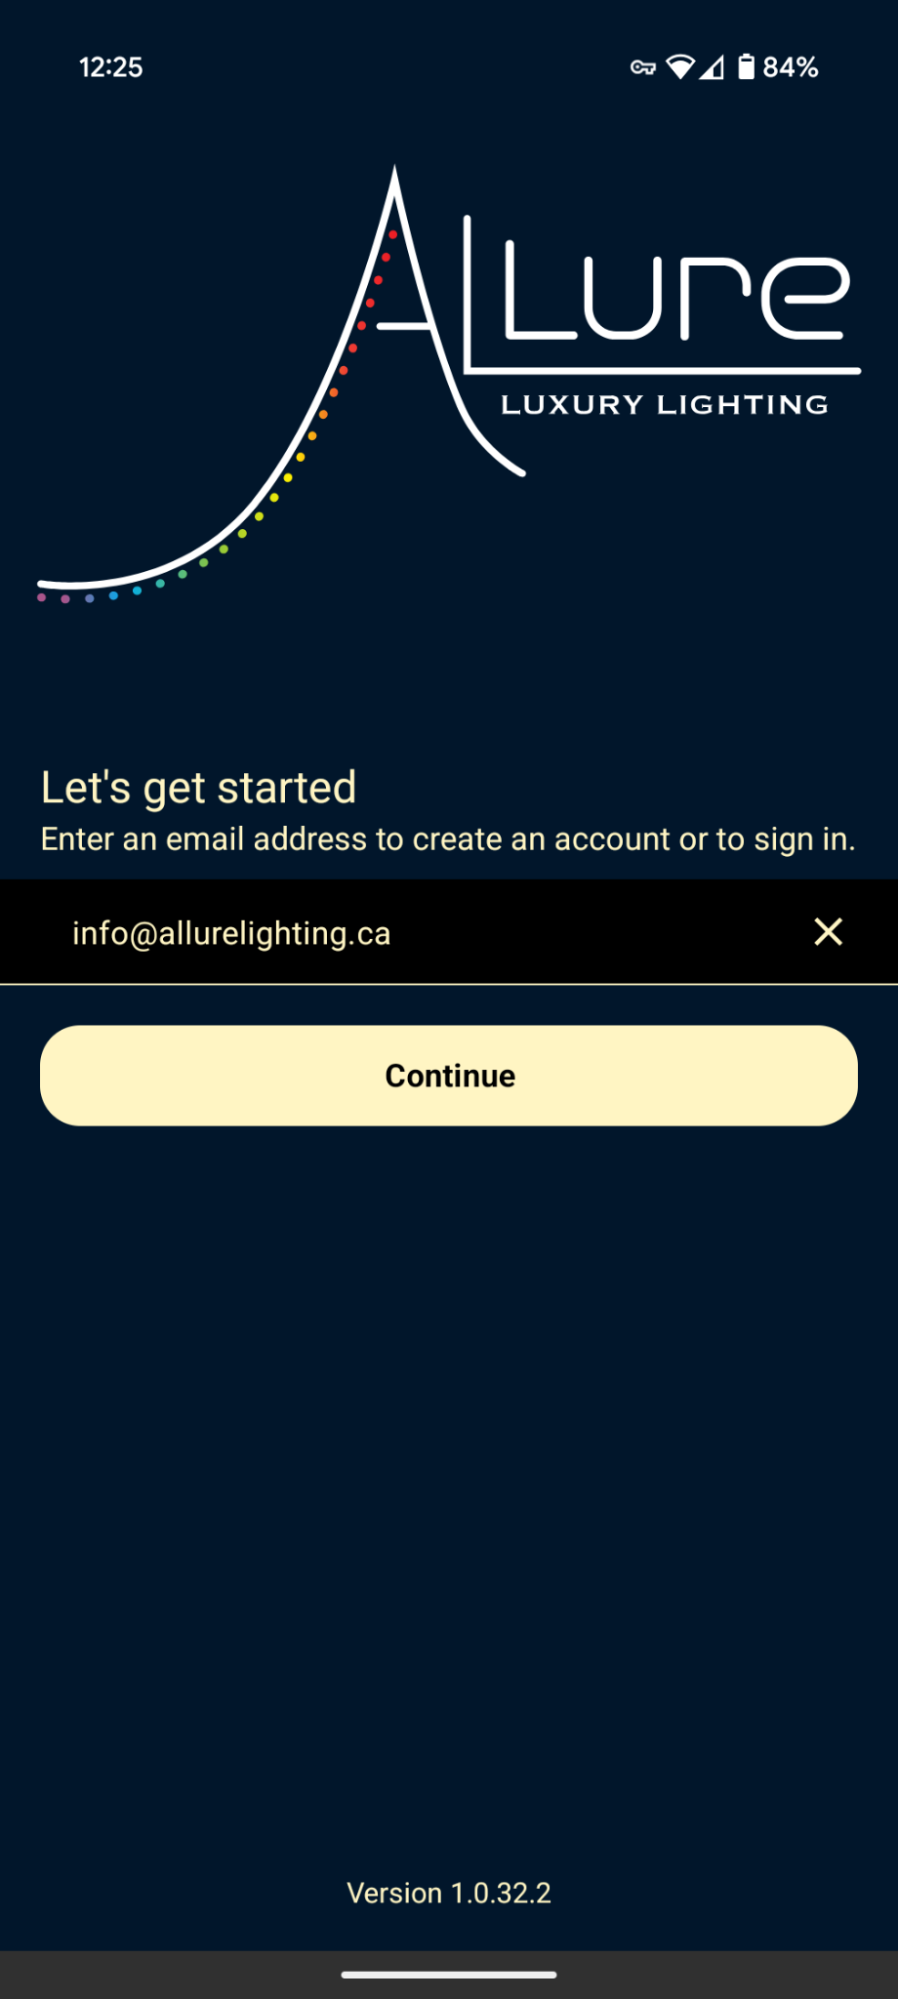
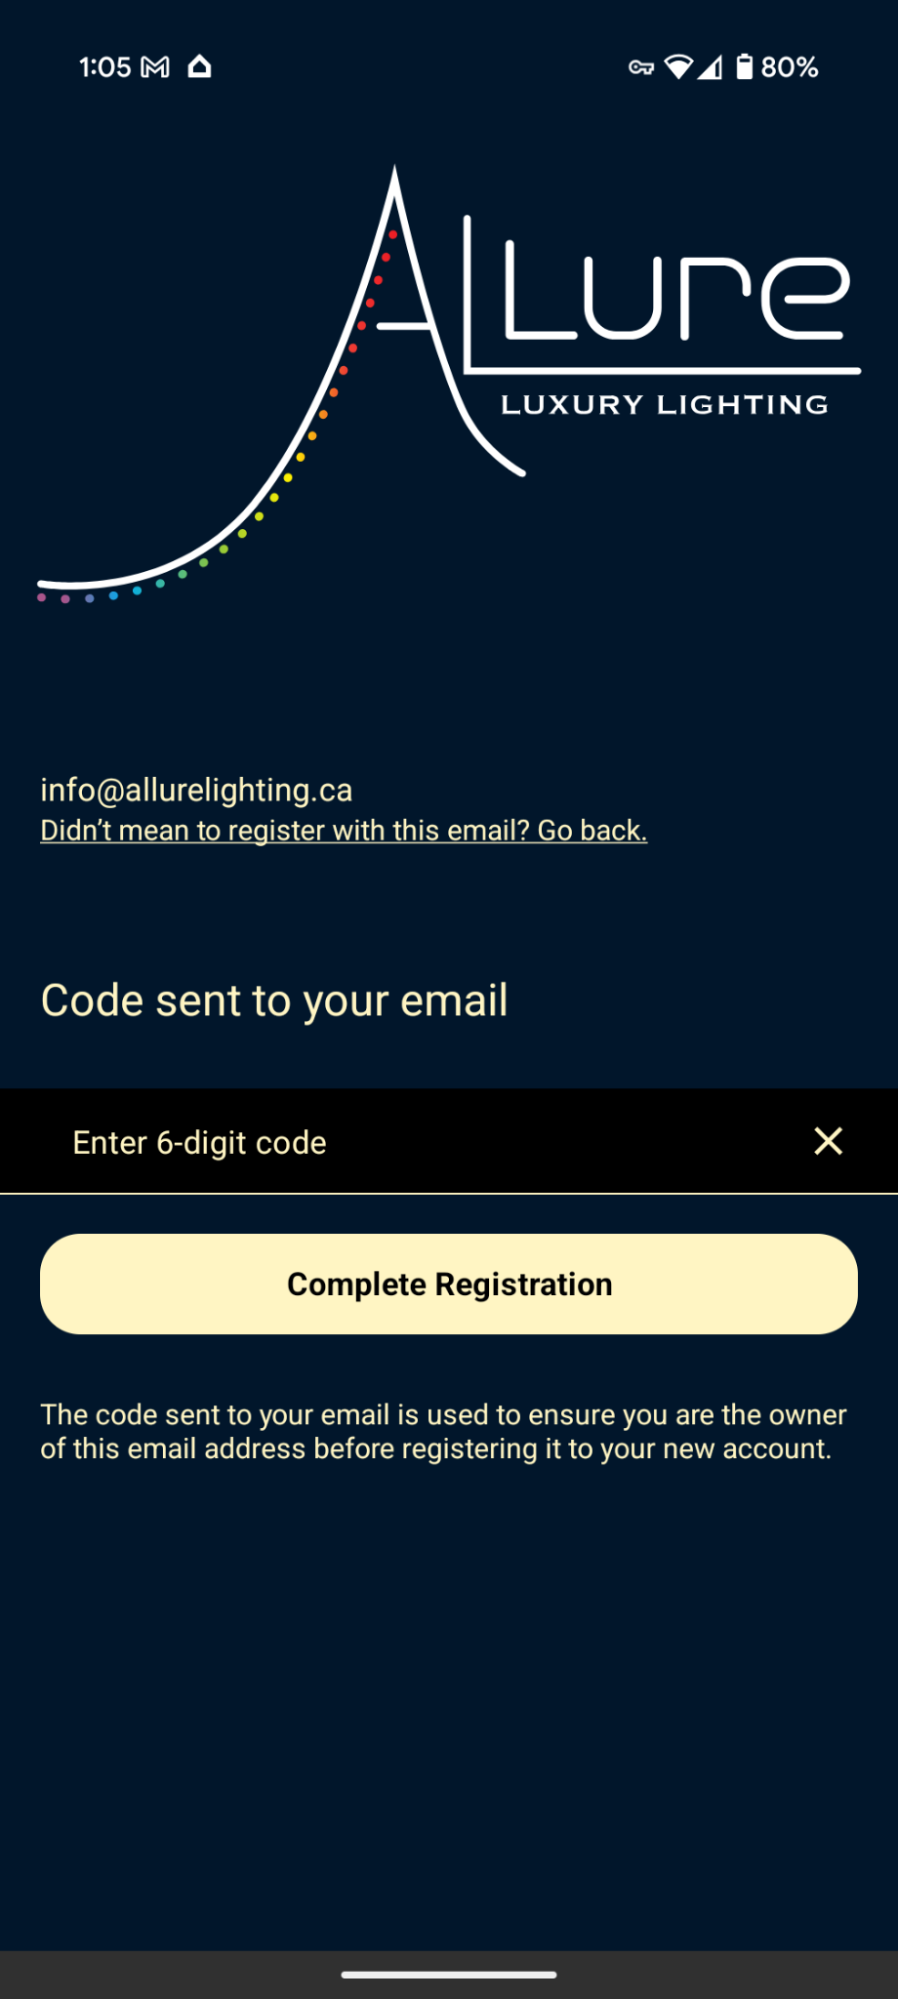
When you first launch the Allure Lighting app, you'll be prompted to create a new account. Tap "Create Account", then enter the following:
- First and last name
- Email address (used for login and device connection)
- Password (minimum 8 characters)
Once submitted, you'll be brought to your Property List page

Step 2: Begin Configuring Your Property
Step 2: Begin Configuring Your Property
Tap "+ Add Property". You'll be prompted to enter:
- Property Name (e.g., "123 Allure Drive")
- Address
After saving, your new property will be listed. Tap it to begin setup.


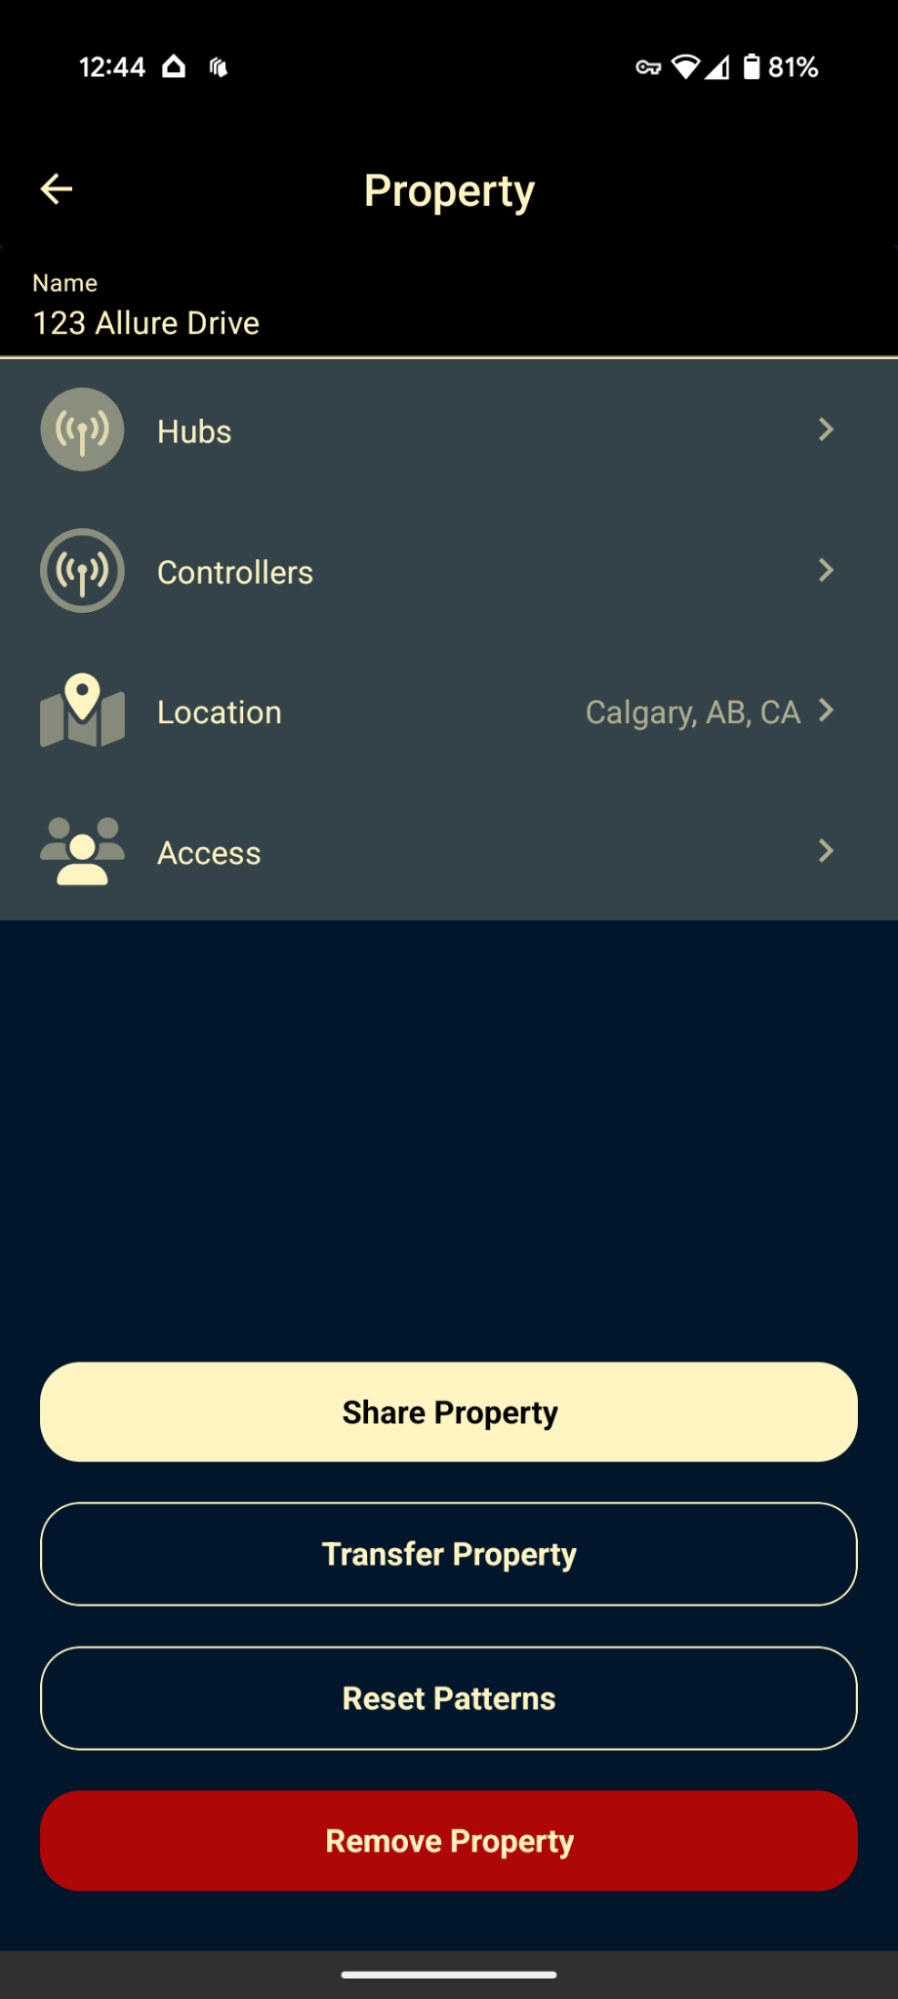
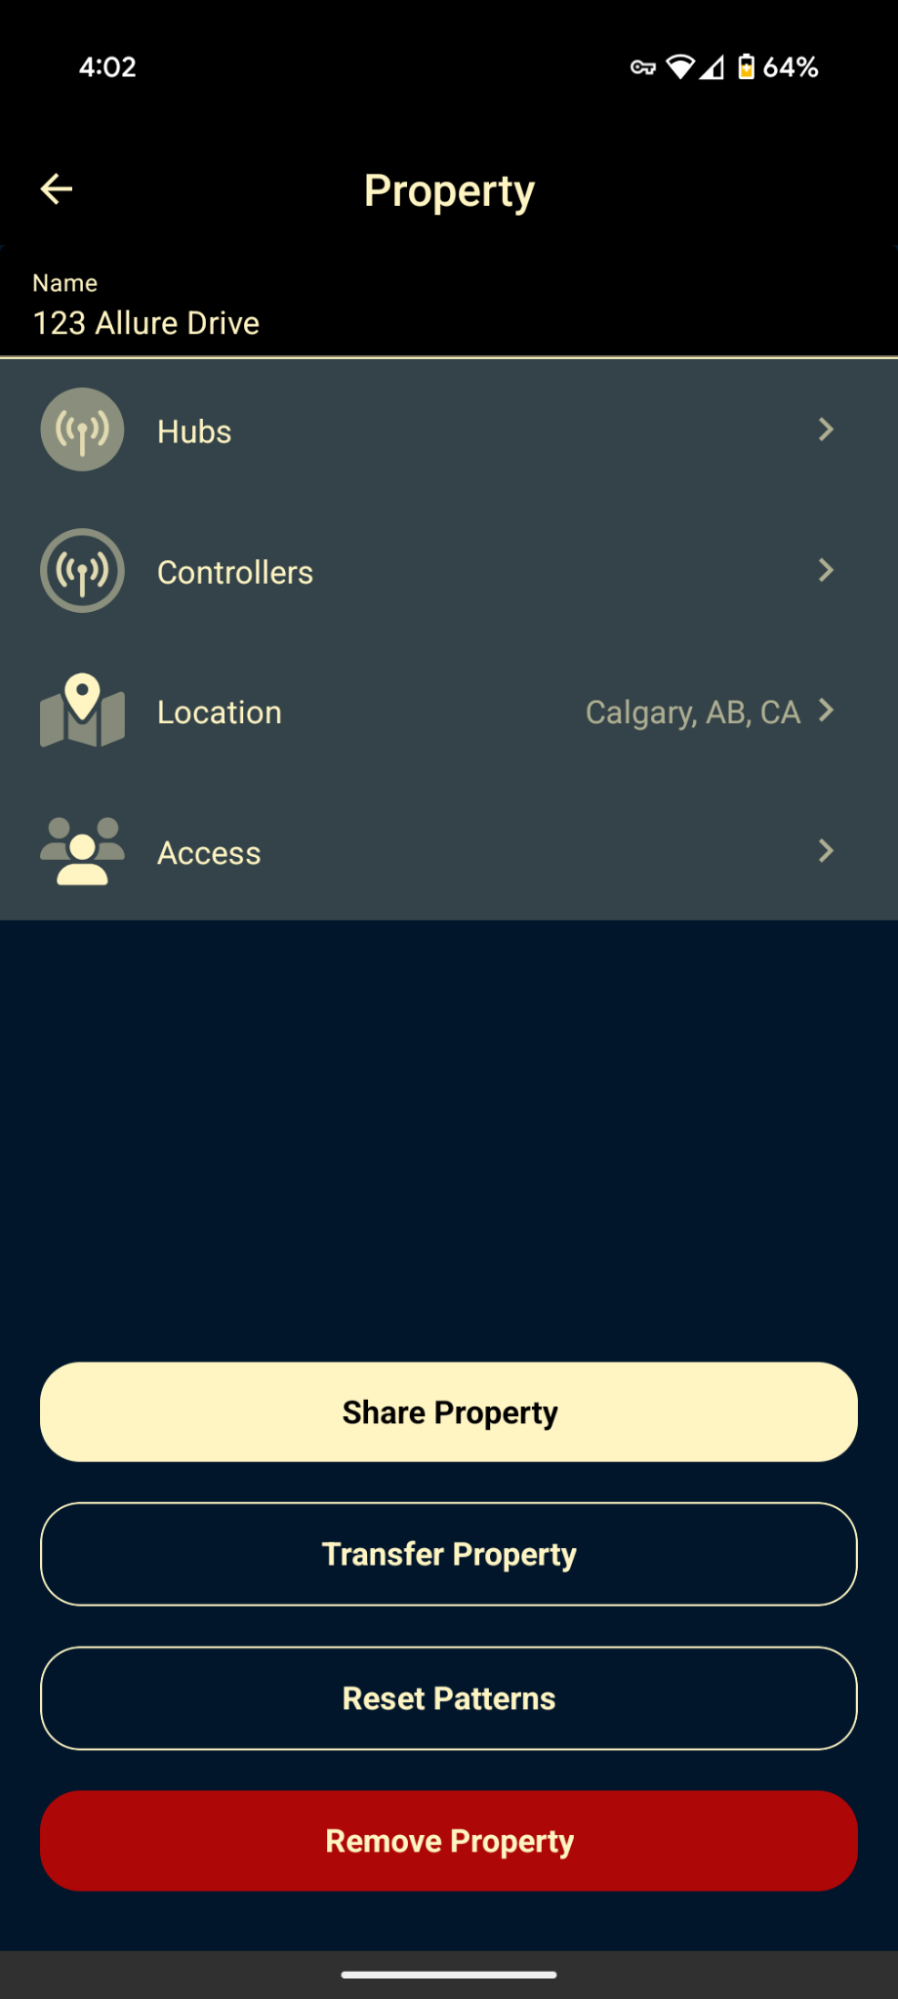
Once inside the property the Setup Property prompt will pop up. After tapping Continue to begin setup, you'll land on the Property Settings screen for the location you just created.
This dashboard lets you manage all components tied to this property, including:
- Hubs – The communication bridge between your phone and controllers
- Controllers – Hardware units that control your lighting zones
- Location – Physical location of the property (for future features like time-based automation)
- Access – Add or remove users who can control this property
- Share / Transfer / Reset / Remove – Manage ownership or troubleshoot your setup

Step 3: Registering a Hub
Step 3: Registering a Hub
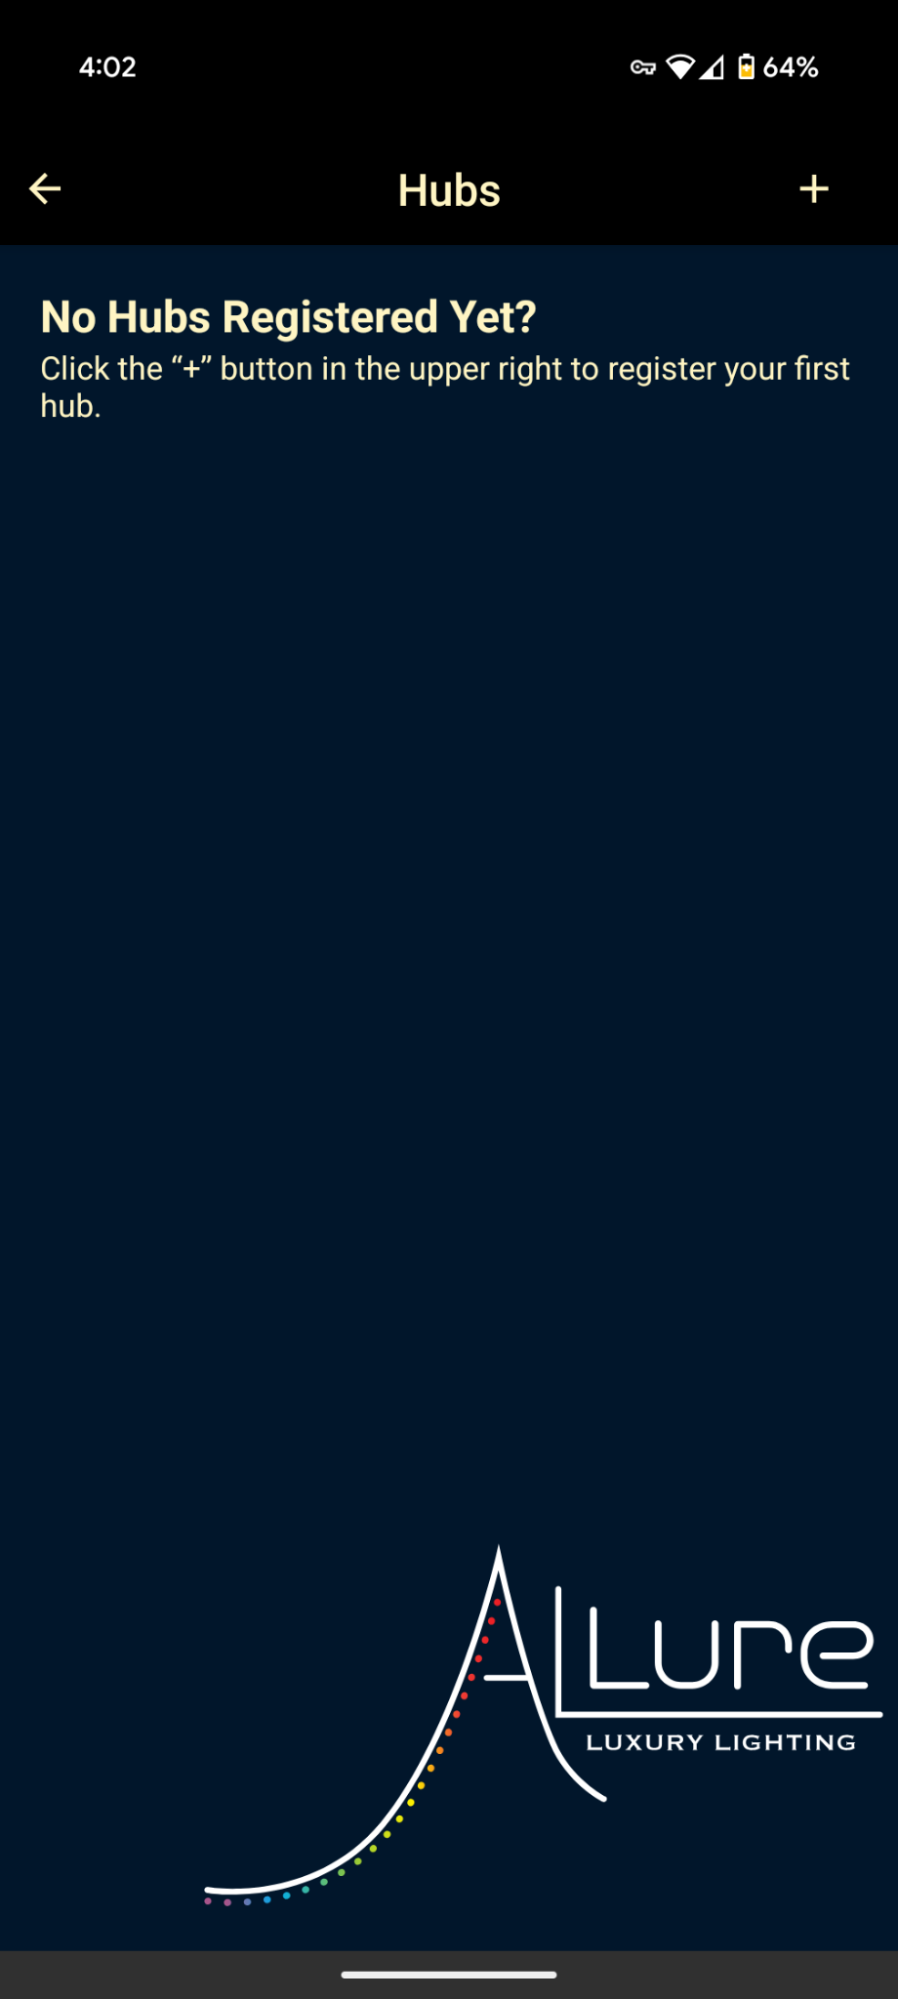
To begin connecting your lighting system to the app, tap Hubs. This is the first step in linking your phone to your lighting controllers. Think of the hub as the "brain" of your system—it must be connected before you can assign zones or create lighting patterns.
You'll now be directed to the Hubs screen, where your registered hubs will appear. If this is your first time setting up, you'll see a message indicating that no hubs are currently registered. The hub is the main control device that connects your controllers to the cloud.

- In the top-right corner, tap the "+" icon to begin registering your hub.
- Once you've tapped the "+" button on the Hubs screen, the Add Hub pop-up window will appear. You'll now be prompted to enter or scan the unique serial number associated with your hub.
- Locate Your Hub's Serial Number or QR Code. The serial number and QR code can be found inside the lid/enclosure of the Allure Hub or Controller.
- Enter or Scan the Code
- Manual Entry: Tap the "Enter Serial Number" field and type in the full serial number exactly as it appears.
- Scan (Recommended): Tap the Scan button to launch your phone's camera and automatically scan the QR code inside the hub lid.

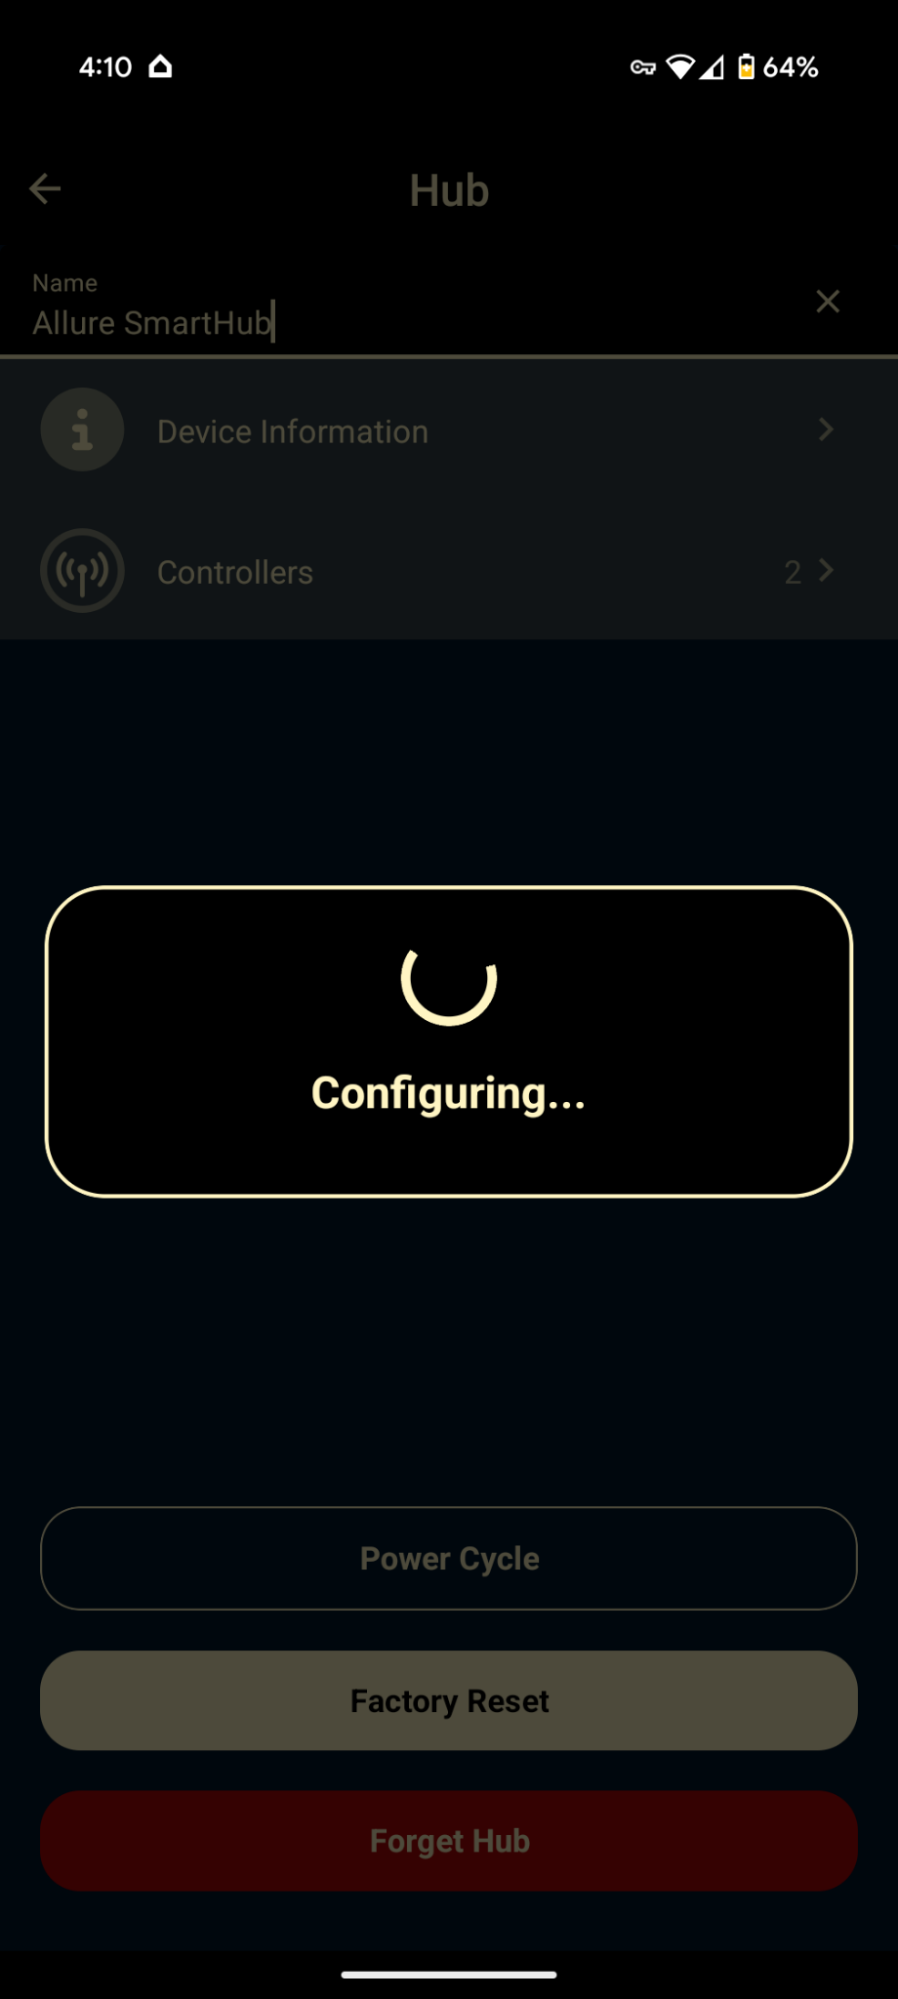
- Name the Hub. Give your hub a recognizable name (e.g., Main Hub, Garage Hub, Front Yard, etc.).
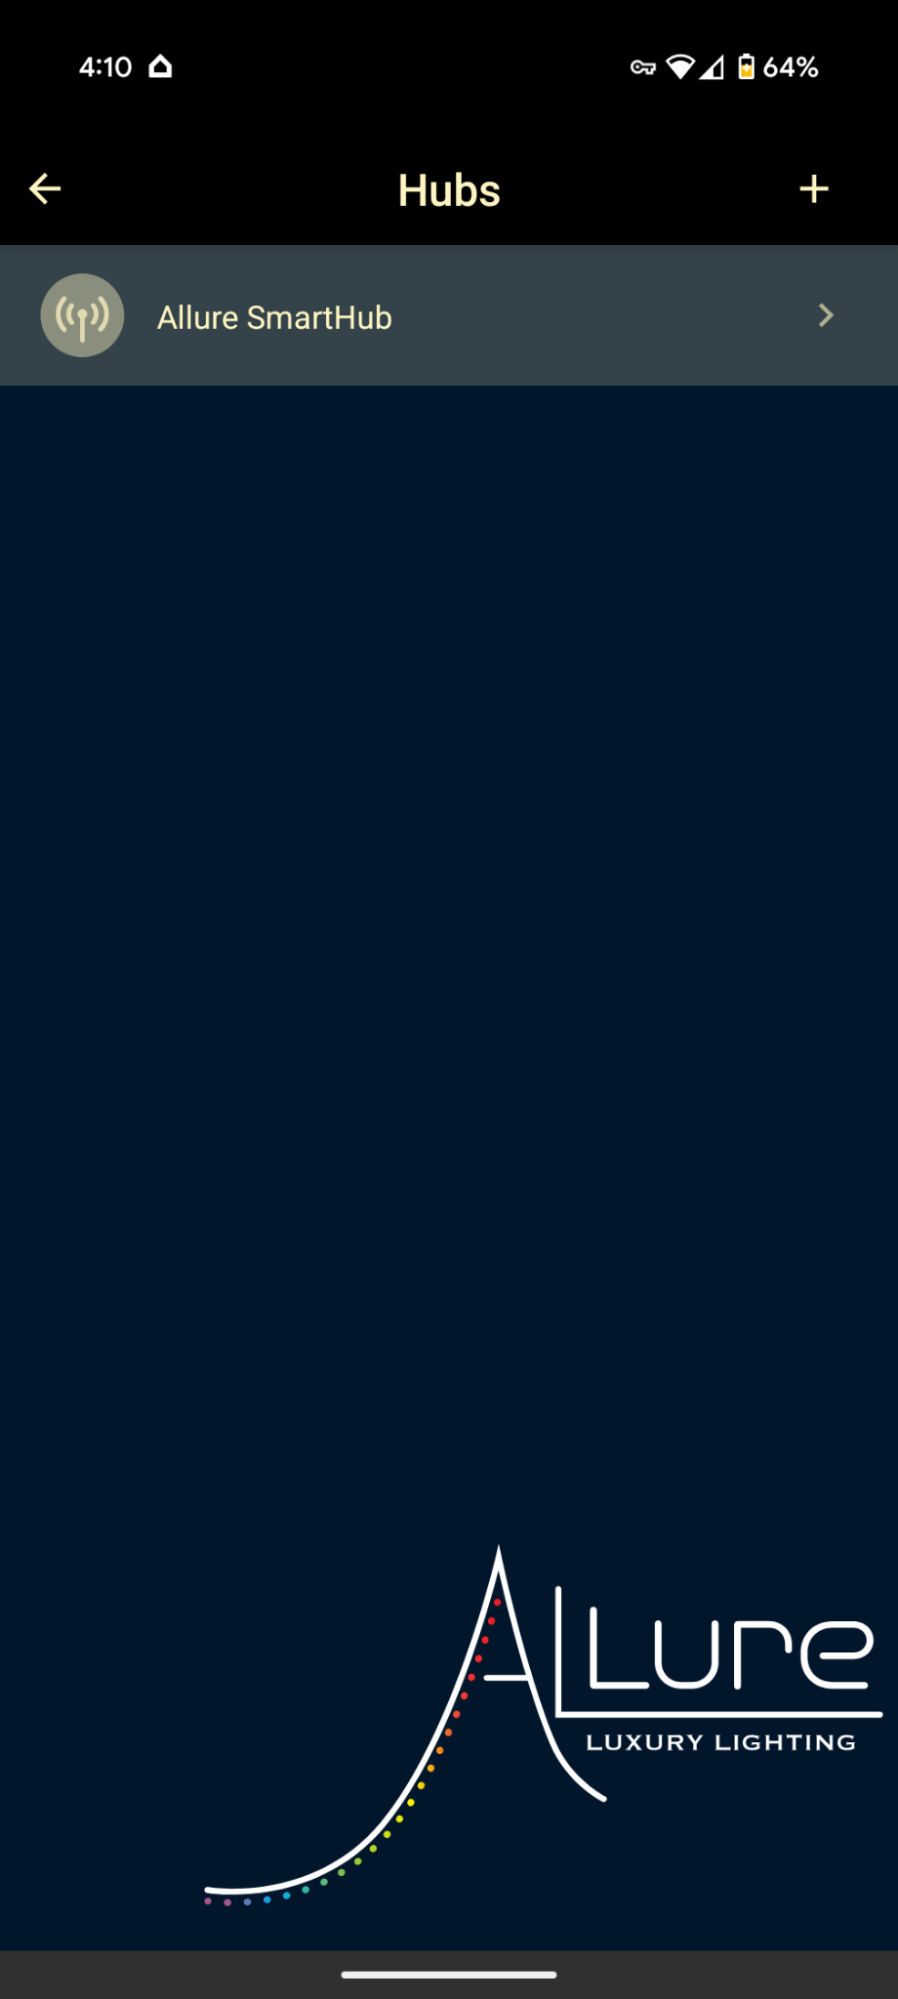
- After entering the serial number and naming your hub, tap Register to complete the pairing process. Once registered, the hub will appear in your list of hubs and will be linked to the property you're setting up.
Step 4: Registering a Controller
Step 4: Registering a Controller
Now that your hub is online, it's time to register a controller (zone).
- Return to the Property Settings screen and Tap "Controllers".
- Click the "+" button in the top-right corner to open the Add Controller pop-up.
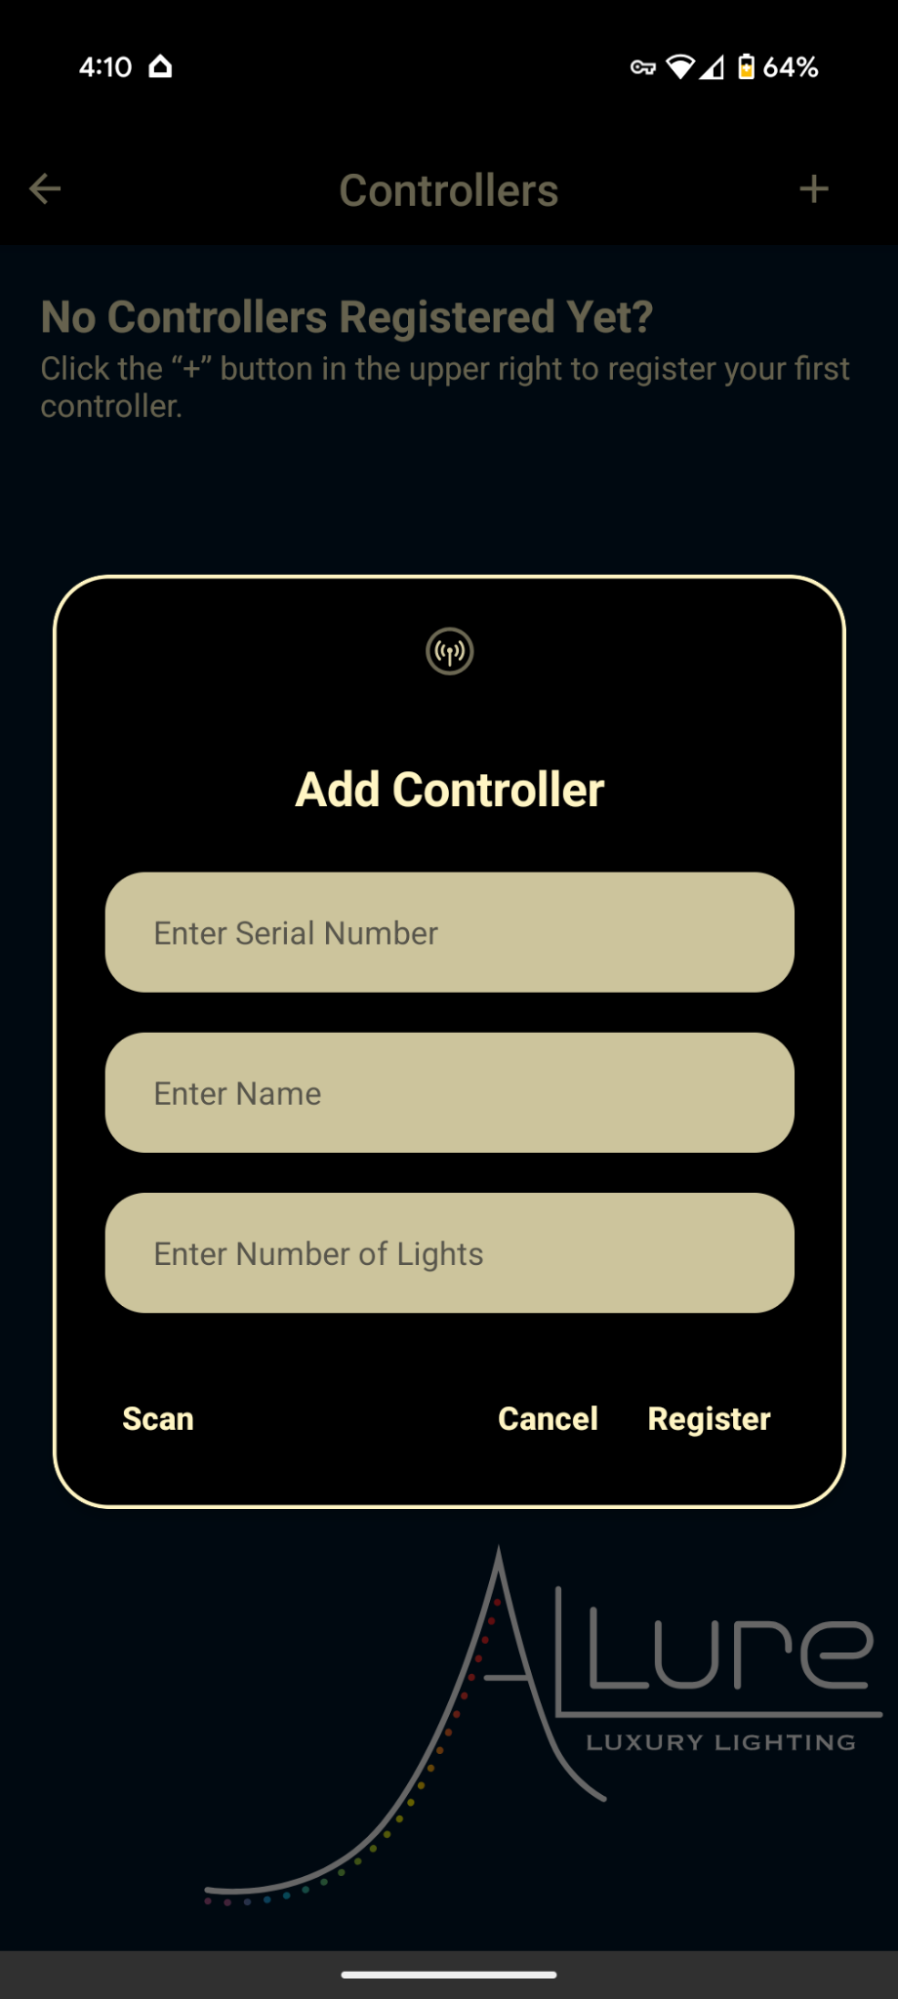
Just like with the hub, you'll need the serial number or QR code, found inside the lid of your controller's enclosure.
You can either:
- Enter the serial number manually
- Tap "Scan" to use your phone's camera to scan the QR code for faster setup
- Name Your Controller. Enter a descriptive name for this controller (e.g., Front House Lights, Garage Zone, Patio Strip).
- Input the Number of Lights. Enter the exact number of lights connected to this controller. This number helps the system deliver optimal power distribution and color control.
- Once all fields are completed, tap Register to sync the controller with the system. The controller will now appear under the selected property.
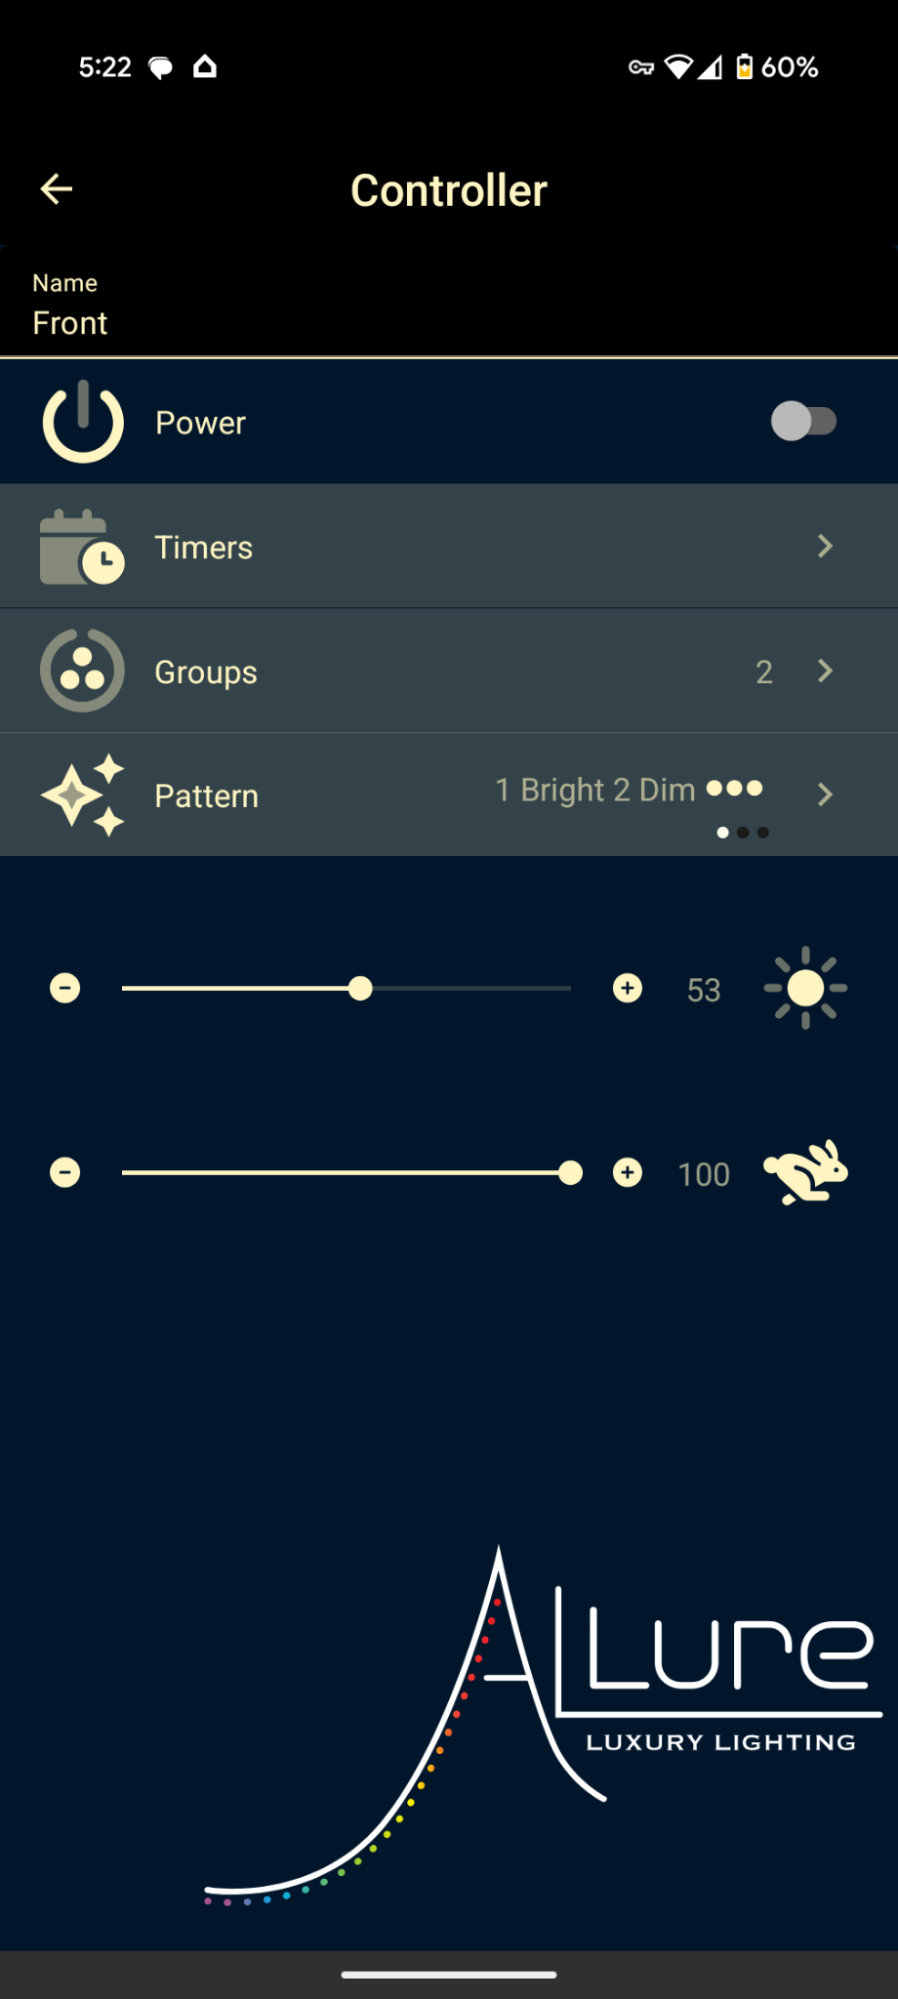
- Assign the Controller a Hub. After tapping on your unconfigured controller, you'll be taken to the Configure screen.
This screen shows your controller's:
- Name (as entered during registration)
- Number of connected lights
- Status of hub connection (currently set to None)
At the top, you'll see a banner warning: "A Hub must be selected." This step is required to enable communication between the controller and your system.
Once your controller has been successfully registered, it will appear in your list under Controllers. If the controller is new or hasn't yet been assigned to a group/zone, it will display under the section Unconfigured Controllers.
Repeat this process for all zones you wish to connect.
Final Step: Confirming Connection
Final Step: Confirming Connection
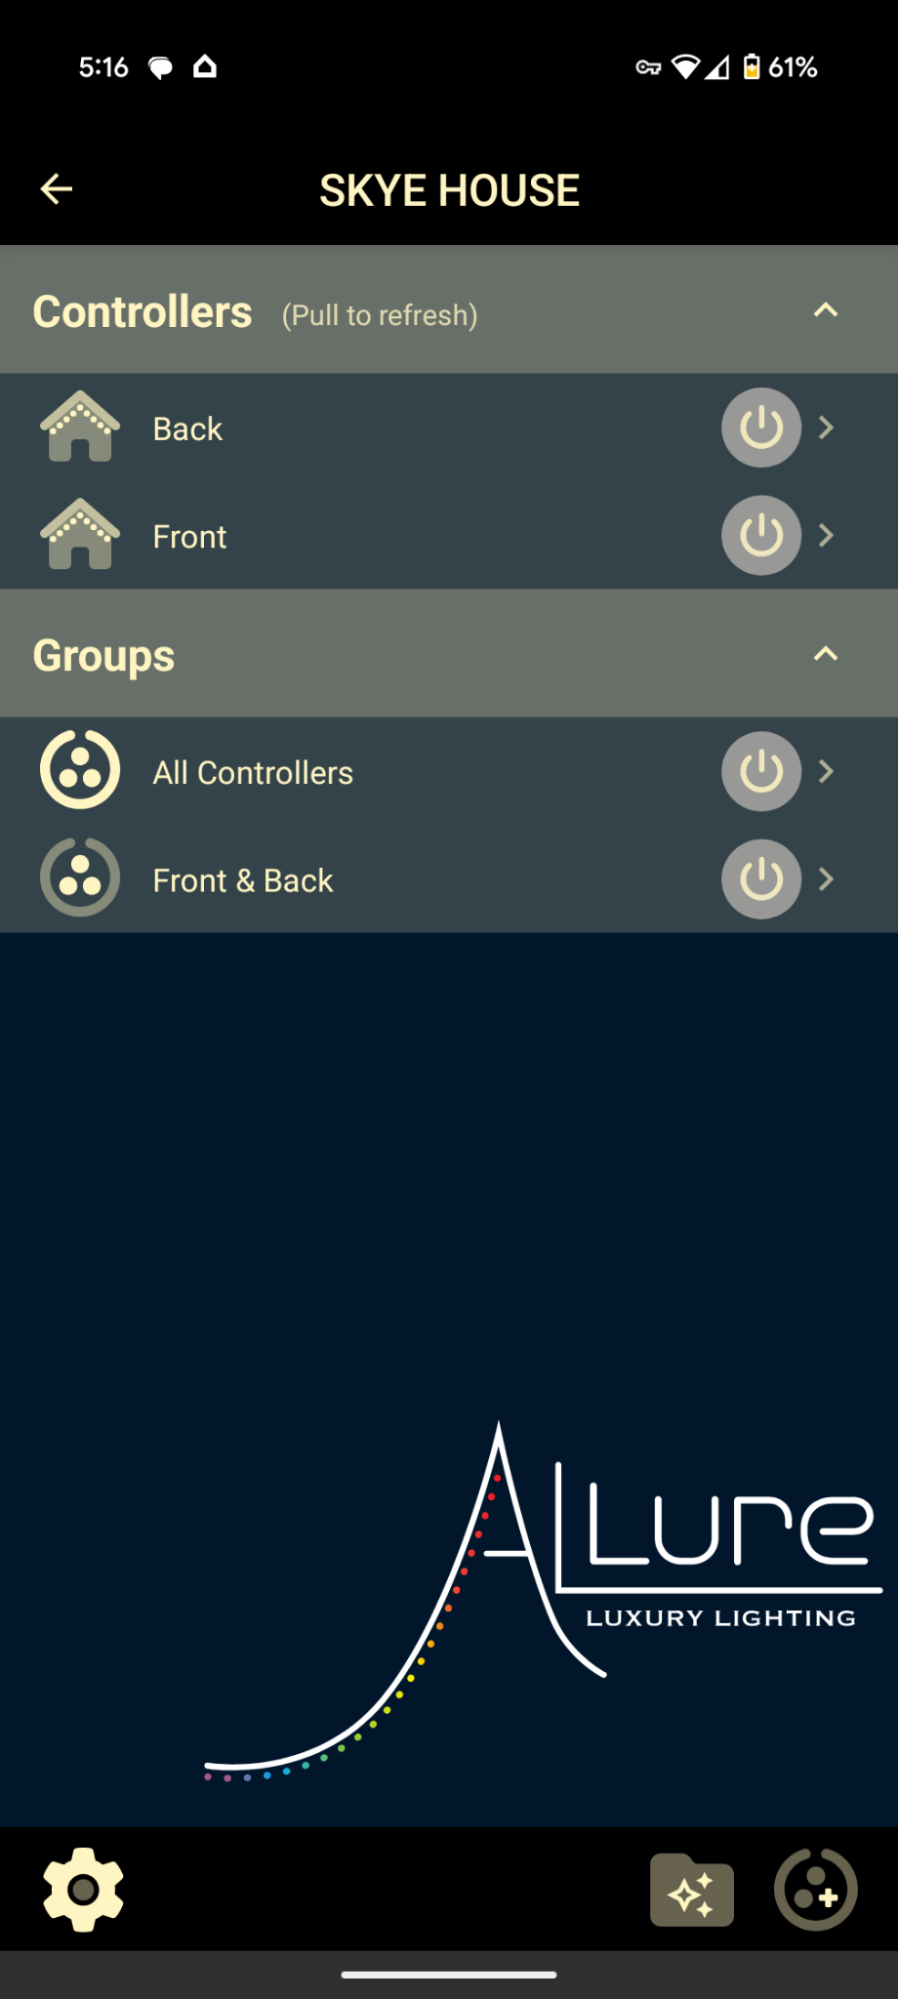
Once all controllers are registered, you'll be brought to the Controller Home Page. You should now see:
- A list of registered controllers under Controllers
- Grouped zones under Groups
You can now hit the back arrow or close/reboot the app to return to the homepage. Congratulations, your system is now online and ready to use!